If you are experiencing a foul odor in your ice cubes, it can be quite off-putting. Typically, this issue arises from either the ice maker or the refrigerator itself. Fortunately, there are several strategies you can employ to eliminate these unwanted odors and keep your ice smelling fresh.
In this blog, we will explore effective methods on how to prevent and remove ice maker odors, ensuring that you always have clean and fresh-tasting ice at your disposal. From simple cleaning techniques to using natural deodorizers, we’ve got you covered. Say goodbye to unpleasant odors in your ice maker with these practical tips and enjoy refreshing drinks without any unwanted smells.
Step-by-Step Guide for Removing Ice Maker Odors
Let’s focus on the job we have: getting rid of the smells in your ice maker. You can freshen it up by following these four simple steps. This easy process includes unplugging, cleaning, and drying. No tricky methods are required.
Step 1: Unplug and Empty the Ice Cube Bin
Unplug your refrigerator to stop power to the ice maker. This step is important for your safety and to avoid electrical risks while you clean. Next, empty the ice cube bin completely and throw away any leftover ice.
Keeping old ice in the bin can cause bad smells and make cleaning less effective. Starting with an empty bin helps you clean it well. This way, your ice maker will be fresh and free from odors.
Step 2: Remove the Hardware
When the ice cube bin is empty, take off any removable parts of the ice maker. This often includes the ice tray and other parts you can detach. Check your refrigerator’s user manual for precise steps on taking apart your model’s ice maker.
Once you have removed all the parts, put them in your sink to clean. This makes it easier to access each piece and clean them thoroughly.
Step 3: Giving the Items a Good Scrub
Now it’s time to clean the parts of the ice maker well. Remember to wash plastic parts by hand, not in the dishwasher. The heat can harm them.
Start by washing the ice tray and other pieces with warm, soapy water. Use a soft sponge or cloth to scrub away any dirt. If you want to get rid of bad smells, try making a baking soda mix.
Mix baking soda with warm water until it’s like a paste. Put this mix on all the parts of the ice maker and scrub them gently. Rinse everything well with water to make sure no leftovers are left.
Step 4: Air Dry the Parts
After making sure all baking soda is gone, let the parts dry completely before putting them back in the freezer. Drying well is important to stop mold and mildew, which can make bad smells.
Don’t use a towel to dry the parts. This could add lint or bits that change the taste of your ice. Instead, place the parts on a clean dish rack or towel in a spot that has good air flow, so they can dry completely.
When the parts are dry, put the ice maker back together. Make sure everything fits well before plugging your refrigerator back into the power.
Tips for Preventing Ice Maker Odors
To stop bad smells from your ice maker, it’s better to act early before they mix with your ice. You can follow some easy tips to keep your ice tasting good and free from smells. By making these simple changes part of your routine, you can have clean and fresh ice from your icemaker all year long.
Check the Water Filter Regularly
The quality of your ice is closely related to the quality of your water. If you have an old or blocked water filter, it can’t remove impurities well. This can cause your ice to taste bad and smell strange.
It’s important to change your water filter regularly to keep your ice maker clean and working well. You should replace the filter every six months, or follow the instructions from the manufacturer. This helps keep everything filtered properly and stops dirt from building up.
To find the right replacement filter, check your refrigerator’s user manual. You can also look for the model number on the current filter you have.
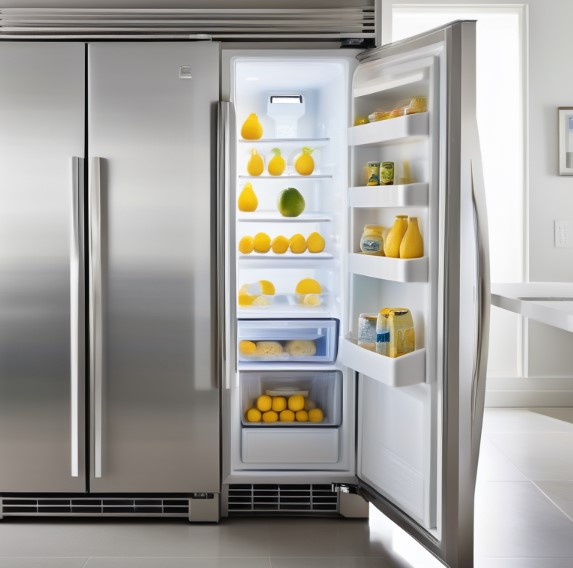
Store Food Properly
Properly storing food is very important to stop smells from spreading in your fridge. This can also affect your ice. Always keep strong-smelling foods in airtight containers. This helps keep their smells in and stops them from affecting your ice.
Do not overcrowd the fridge. When it is too full, air cannot flow well, and odors get stuck. Make sure there is enough space between items so that air can move freely.
By following these easy storage tips, you can greatly reduce the chances of odors getting to your ice. This will help keep your fridge fresh.
Avoid Strong Smelling Foods
While storing your food properly is important, it helps to limit how many strong-smelling foods you keep in your fridge. Foods like onions, fish, and certain cheeses have strong odors that can mix with everything else and even get into the ice maker.
If you need to store these foods, place them in the crisper drawers. These drawers can hold odors better than other areas. This way, the smells are less likely to spread and affect the rest of your fridge and the ice.
If you won’t use these strong-smelling foods right away, you can freeze them. Freezing keeps their smells locked in and stops them from changing the taste and smell of other foods, even your ice cubes.
Run a Cleaning Cycle
Many new refrigerators have a special cleaning cycle for the ice maker. This cycle automatically cleans the system using water and a cleaning solution. It helps remove any mineral build-up or dirt.
Check your refrigerator’s user manual to see if it has a cleaning cycle. The manual will also give you instructions on how to use it. Running this cycle regularly, as the manufacturer suggests, helps keep your ice maker clean and working well.
If your refrigerator doesn’t have a cleaning cycle, you can clean it manually. Just mix water with white vinegar and follow the guide provided earlier in this article.
Keep the Ice Maker Well-Ventilated
Proper airflow in the refrigerator is important. It helps stop stale air and bad smells. You should make sure the ice maker has good ventilation too. Don’t overcrowd the freezer, especially near the ice maker. This will help air move freely.
When you put items in your freezer, leave some space around the ice maker. This will keep the air fresh and stop odors from getting trapped inside the ice maker.
Also, check the vents in your refrigerator now and then. Make sure they are not blocked by ice or food bits.
Conclusion
Keeping your ice maker smelling fresh is very important for clean ice. You can follow some simple steps on how to prevent and remove ice maker odors and keep it working well. Clean it often, store food properly, and make sure there is good airflow. If you want more tips on how to take care of your ice maker, you can read our blog: Mastering Solutions for Common Issues with Viking Ice Maker. A clean ice maker will not only give you ice without bad smells but also keep your drinks safe.
Frequently Asked Questions
How often should I clean my ice maker to prevent odors?
It is a good idea to clean your ice maker every 3 to 6 months to stop bad smells. If you use your ice maker often or start to smell odors sooner, you should clean it more often.
What are the best cleaning solutions for ice makers?
Warm soapy water and a baking soda mix are great and safe cleaners for ice makers. Baking soda is especially good at getting rid of bad smells. If you need to clean more deeply, you can use a mix of equal parts water and white vinegar.
Can ice maker odors affect the taste of the ice?
Ice can soak up smells in your refrigerator. If your ice maker has a bad odor, the ice it makes will probably taste weird. This can ruin your drinks and take away from your enjoyment.