Is your ice maker making cloudy or weird-tasting ice? This is a common problem with appliances, and it may not need an expensive fix. Most of the time, the problem is just a dirty ice maker. This helpful guide gives you simple DIY fix for an ice maker making dirty ice. Soon, you can have it making clear, fresh ice again.
Common Reasons for Dirty Ice Production
Let’s look at some common reasons why your ice cubes might not be great.
- Hard Water Deposits: Minerals from hard water can build up in your ice machine. This can create a good place for bacteria to grow and can change the taste and appearance of your ice.
- Contaminated Water Supply: If the problem is with your water supply, it will show in your ice cubes. Things like rust or sediment can mix into the ice-making process, leading to ice that looks off or tastes bad.
- Dirty Ice Bin: Over time, dust, food bits, and other stuff can collect in the ice bin. When ice stays in the bin too long, it picks up these impurities, making the ice dirty.
Signs That Your Ice Maker Needs Cleaning
Here are a few clear signs to look out for:
- Cloudy or Discolored Ice: If your ice looks cloudy or has a strange color, it is a strong sign that your ice maker needs help.
- Strange Tasting Ice: Ice that tastes weird, possibly metallic or just odd, usually means you have a dirty ice maker. Do not ignore this sign; it may suggest bacteria are present.
- Visible Debris in the Ice Bin: Always check your bin. If you find debris like food bits or a slimy film, it is important to clean the ice maker. This kind of contamination shows you need to take action quickly.
Preparing to Clean Your Ice Maker
Cleaning your Viking ice maker or other brand is an easy task that anyone can do. It helps to prepare everything before you start. This way, you can concentrate on what you need to do.
First, you should gather the tools you need. Also, consider some safety steps. With this preparation, you will be ready to handle this DIY project well and safely.
Tools and Materials You Will Need
Having the right tools and materials ready can make cleaning your ice maker easier. To clean your ice machine well, gather these items:
- Two soft cloths or sponges
- A bowl
- Warm water
- Mild dish soap
- White vinegar (optional)
- A toothbrush (optional)
You might want to use a special ice machine cleaner for a deeper clean, especially if you have hard water. If you haven’t changed your ice filter in a while, this is a great time to do it.
Safety Precautions Before Starting
Before you start cleaning your ice maker, be safe by following these important precautions:
- Unplug your appliance: Make sure to disconnect the power to avoid getting electric shocks while you clean.
- Protect yourself: Be careful of any sharp edges or parts when you clean your appliance. Wearing gloves can help keep you safe.
- Handle cleaning solutions carefully: If you use a cleaner for your ice machine, follow the instructions from the manufacturer. Do not mix different cleaning solutions.
Step-by-Step Guide to Cleaning Your Ice Maker
Now, let’s start cleaning your ice maker. This easy guide breaks down the process of ice maker troubleshooting. It’s perfect for those who don’t have much experience with fixing appliances. A clean ice maker means better-tasting drinks. It also helps your appliance last longer and keeps your home healthy.
Follow these steps carefully. Soon, you will be enjoying fresh, clean ice.
Step 1: Unplug and Empty Your Ice Maker
First, unplug your refrigerator. This will stop the power to the ice maker and keep you safe while you clean. Next, take out all the ice from the bin. Throw away any ice cubes that are there.
If your ice maker has a shut-off switch or arm, turn it on. This will stop the ice maker from making more ice while you clean. Make sure to get rid of any ice still in the bin.
Step 2: Clean Removable Parts Separately
Most ice makers have parts that you can take out, like the ice bin and the ice scoop. Wash these parts with warm, soapy water. Pay special attention to any corners or hard-to-reach spots. If your ice maker has a filter, it’s a good time to replace it now.
After you clean them, rinse all parts with clean water to get rid of any soap. Let them air dry fully to stop mold from growing before putting them back into the ice maker.
Step 3: Prepare Cleaning Solution
In a bowl, mix warm water with mild dish soap. You can also use water and white vinegar in equal parts. This solution cleans well and removes smells. But if you have stainless steel appliances, it’s best to skip the vinegar because it can harm the finish.
If you choose a commercial ice machine cleaner, make sure to follow the product instructions carefully. Don’t mix different cleaning solutions because it can create harmful fumes.
Step 4: Clean the Interior and Exterior
Using a soft cloth or sponge soaked in the cleaning solution, wipe the inside of the ice machine. Be sure to clean the ice mold, ice tray, and any parts you can reach. Focus on spots with mineral buildup or mildew.
Next, take a clean cloth and the cleaning solution to clean the outside of your appliance. Wipe the door, handles, and nearby surfaces to get rid of dirt, grime, and fingerprints.
Step 5: Rinse Thoroughly and Reassemble
After cleaning, rinse the ice maker well with clean water. This helps to get rid of any cleaning solution left behind. Use a clean cloth that is damp with water to wipe off any tough spots.
When you are sure all the cleaning solution is gone, put back together the removable parts you washed earlier. Make sure all parts are dry and set up correctly before you plug the appliance back in.
Step 6: Run a Cleaning Cycle and Check Operation
Once you put everything back together, plug your refrigerator into the power outlet again. Most ice makers can go through a cleaning cycle. Check your appliance manual to start this cycle. It usually means making several batches of ice and throwing them away.
After the cleaning cycle, check if the ice maker is working properly. You should see clear, clean ice cubes being made. If there are still problems like cloudy ice or a weird taste, do the cleaning process again or reach out to a qualified appliance repair expert for help.
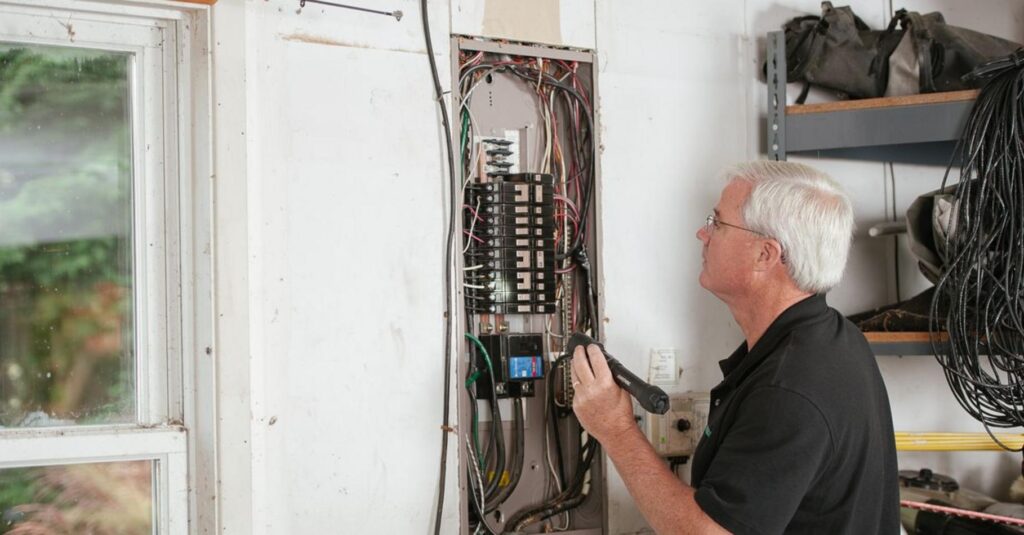
Contact Viking Appliance Repair Pros
Is your ice maker still causing problems, even after you cleaned it? Are you worried about doing this DIY task by yourself? Don’t let ice maker issues bring you down. At Viking Appliance Repair Pros, we are your local experts for all appliance repair needs. We know how annoying a broken ice maker can be. You can count on our skilled technicians to find the problem and fix it fast. Contact us today, and we will handle your ice maker repair. This way, you can relax and enjoy your cool, refreshing drinks again.
Conclusion
Maintaining cleanliness in your ice maker is very important. This helps to make sure the ice is clean and healthy. By following some easy DIY fix for an ice maker making dirty ice and regularly cleaning your appliance, you can enjoy nice ice without any worries. If you want more tips on appliance care, check out our blog about common ice maker problems and their solutions. Taking care of your ice maker keeps it in good shape. This ensures clean and safe ice and helps your appliance last longer. For more help or appliance repair needs, contact Viking Appliance Repair Pros. To know more DIY tips for your ice maker, check out our blog on DIY Viking Ice Maker Module Replacement.
Frequently Asked Questions
How often should I clean my ice maker?
Clean your ice maker every six months to prevent mineral buildup and ensure optimal performance. Regular maintenance is key to extending its lifespan and producing clean, tasty ice cubes.
Are there any signs of a malfunctioning ice maker that I should look out for?
Look for signs beyond dirty ice: no ice production, misshapen cubes, or strange noises from the ice maker. If you notice any of these signs, troubleshoot or seek professional help.
Is it necessary to replace the water filter after cleaning the ice maker?
It’s a good idea to replace the water filter after you clean the ice maker, even though it’s not required. The filter may have dirt that can affect the ice’s quality. Changing it helps provide fresh, clean water for making ice. This also makes your cleaning work more effective.