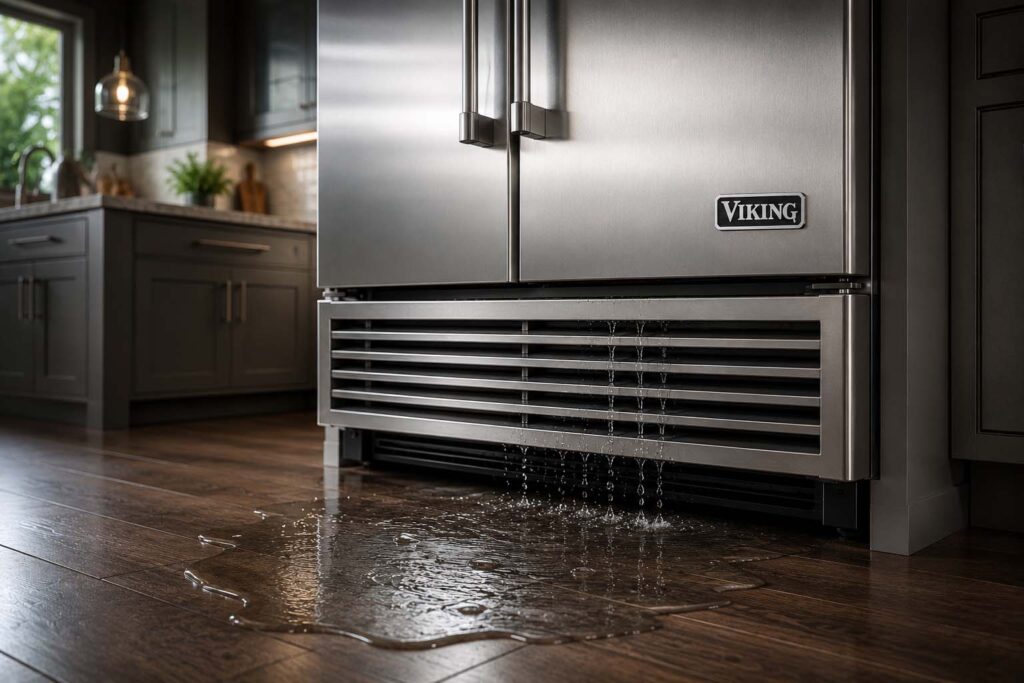
Is your Viking appliance leaking water and causing some frustration at home? Water leaks can interrupt your daily routine and may lead to bigger problems if you don’t fix them. Viking appliances are known for their reliability, but they can still developed leaks due to small issues or old parts. It’s important to understand what’s causing your Viking appliance to leak. This knowledge helps you prevent damage and keep it in great shape. In this guide, we will look at the common reasons for leaks and give you effective steps to fix these problems.
Common Causes of Water Leaks in Viking Appliances
Water leaks in Viking appliances are usually caused by normal use or parts breaking down. For example, a cracked water line or a loose gasket could cause your appliance to leak. These problems can lead to water collecting where it shouldn’t be, impacting how your appliance works and other areas in your kitchen.
Also, clogs in drain tubes or filter housing are common issues for Viking owners. Knowing these causes helps you respond quickly, whether you choose to fix it yourself or hire a repair service.
Issues with Water Line Connections
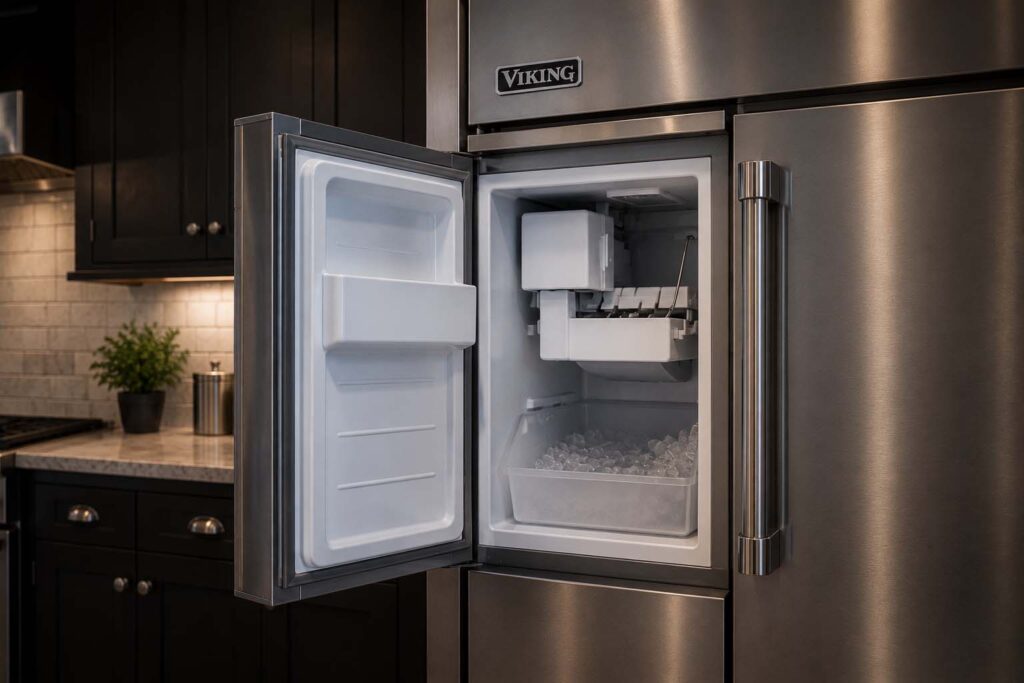
A loose or broken water line is a common cause of leaks in Viking appliances, affecting vital components like ice makers and water dispensers. If your kitchen floor is wet or the appliance lacks water, inspect the water line immediately. Check the plastic hose for cracks, leaks, or loose connections. Always turn off the water supply before attempting repairs to avoid a bigger mess. Replacing a damaged line is usually straightforward and ensures proper water flow. If issues persist, consult a professional to identify deeper problems with your Viking appliances. Addressing water line issues promptly can prevent future complications.
Faulty Seals or Gaskets
A damaged door seal often causes water leaks in Viking appliances. The gasket creates a tight seal, but it can wear out or crack over time, allowing warm air to enter and causing condensation. To address this, inspect the gasket for visible damage like cracks or tears. Clean it with warm soapy water if it’s dirty. If it’s significantly damaged, replace it to stop leaks. Bad seals can hinder cooling and shorten appliance lifespan. Promptly fixing or replacing door seals is an affordable way to ensure your Viking appliances function properly and prevent leaks.
Step-by-Step Guide to Diagnosing Your Leaky Viking Appliance
If you want to find out where a leak is coming from in your Viking appliance, follow these steps. Knowing how to diagnose the problem can help you avoid extra repairs. First, get the tools you need. Then, take a methodical approach to check different areas. The leak could be from the water line, drain tube, or door seal. Finding the source of the leak is a big part of solving the issue.
This guide will show you each step. You’ll feel good about fixing small problems yourself or knowing when to call a professional. Let’s begin!
Step 1: Gather Necessary Tools and Equipment
Before you check your leaking Viking appliance, gather the tools you need. You will need a flashlight, screwdriver, towels, a bucket, and a strong wire for most inspections and repairs. If your appliance’s manual states specific tools, have those ready, too.
Start by unplugging your appliance to stay safe. Put down towels to keep things dry while you check. A flashlight will help you see into tight spots so you can find the problem easily.
If you see debris or broken parts, you might need to replace items like gaskets or water lines. Having everything you need close by helps make repairs quick and easy. With all your tools ready, you can fix your Viking appliance without any trouble.
Step 2: Identify the Source of the Leak
Finding the source of a leak in Viking appliances needs a clear plan. Start by checking visible places like the water line, door seal, and drip pan. A flashlight can help you see cracks, clogs, or puddles of water near these areas.
Look for blockages in spots like the freezer’s defrost or drain tube. Blockages can make water back up and flow onto the floor. You can use a sturdy wire or hot water to help remove these blockages quickly.
Don’t forget to check less visible parts, such as the filter housing or water inlet valve. Leaks in these areas might need help from a professional because repairs can be tricky. After finding the problem, use the tools you have to fix it. Knowing exactly what the issue is not only stops the leak but also keeps your Viking appliances safe from more damage.
Contact Viking Appliance Repair Pros for Expert Service
DIY fixes can usually fix small leaks in Viking appliances, but bigger problems might need expert help. At Viking Appliance Repair Pros, we focus on finding and fixing leaks to get your appliance working again. Our skilled team can handle issues like a damaged water inlet valve or a blocked defrost system.
We provide quick and dependable service to lessen any trouble for you. Whether it’s fixing tough leaks or doing regular maintenance, we make sure your appliance works like new. Contact us today to protect your investment and prevent more damage in your kitchen.
To set up an appointment, just give us a call or send a message. With our skills, your Viking appliances will run smoothly again. Let’s keep your kitchen stress-free and without leaks!
Conclusion
In conclusion, fixing your Viking appliances leaking water is important. It helps them last longer and keeps your kitchen safe and working well. You can spot common causes like broken seals or problems with water lines. This lets you fix these issues early. Regular upkeep and checks can stop many leaks before they happen. If you want to learn more about taking care of your appliances, check out our blog post, “Top 8 Appliance Warning Signs You Should Be Aware Of,” for helpful tips and information. Your Viking appliances deserve great care, and we are here to help you with that!
Frequently Asked Questions
Why is my Viking dishwasher leaking from the bottom?
Your Viking dishwasher might leak from the bottom. This can happen because of clogged filters, broken gaskets, or a bad water inlet valve. Check these parts to find the issue. If the leak at the bottom keeps happening, you should think about calling a repair technician. They can do a detailed check of your Viking appliance.
How often should I check Viking appliance connections to prevent leaks?
It’s a good idea to check your Viking appliance connections for leaks every three to six months. By regularly looking at the water lines, seals, and drain tubes, you can find early signs of damage or blockages. Keeping up with maintenance helps lower the chance of leaks and keeps your Viking appliances working well.
Can a leaking appliance lead to other kitchen damages?
Yes, leaking appliances can damage your kitchen by harming flooring, creating mold, and ruining cabinets. Ignoring a leak from your Viking appliance can lead to bigger issues. Address leaks promptly to ensure kitchen safety and prolong the life of your appliance.