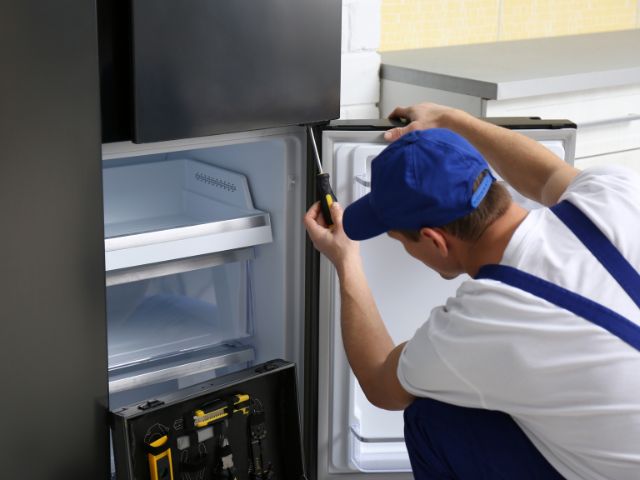
A broken ice maker can be a real hassle, especially if you enjoy Viking appliances. You can call a technician for help, but you can also replace the ice maker module on your own if you have the right guide. In this guide, we will walk you through a step-by-step process of replacing the ice maker module in your Viking appliance. By following these instructions carefully, you can save time and money by tackling this task yourself. Let’s dive into the DIY Viking Ice Maker Module Replacement guide step by step.
When to Consider a Module Replacement
Some problems with a Viking ice maker can be fixed with easy troubleshooting. However, if the issue comes from the module itself, you will need to change the module. If you see signs that the module is failing, it is usually cheaper to replace the module instead of trying to repair it.
Changing the module can also be a good preventive step, especially for older ice makers. As time goes by, regular use can affect how well the module works. This can cause it to perform less efficiently and even lead to breakdowns.
By choosing to replace the module early, you can make sure you have enough ice. This can help you avoid surprise failures later on.
Tools and Supplies Needed for Module Replacement
Before you start the replacement, gather the tools you need. This will help you have a smooth process. Having everything ready will save you time and avoid issues during the installation.
With the right equipment close by, each step will be easy and quick.
Essential Tools for DIY Ice Maker Repair
Replacing a Viking ice maker module is easy. You only need simple tools like screwdrivers and pliers. Have a bucket, towel handy for spills. Measure your old module or check the appliance’s model number. Choose a genuine Viking part for replacement to ensure compatibility. Purchase it online or at an appliance store nearby. Basic tools make the project easier to complete successfully.
Safety Precautions Before Starting
Before fixing your appliance, safety comes first. Start by unplugging your Viking fridge. Locate the breaker for the fridge in your electrical box and switch it off. This prevents electric shocks during repairs.
Then, ensure the ice maker’s water supply is off too. Locate a small valve at the back of the fridge and turn it clockwise. This prevents water leakage when removing the module.
Remember, these safety measures are crucial for your well-being and for a successful module replacement.
Step-by-Step Viking Ice Maker Module Replacement Process
Now that you have your tools ready and have made sure to stay safe, it’s time to start replacing the module. Take your time, and follow every step closely. This way, you will ensure the installation goes well.
If you follow these steps, your Viking ice maker will be up and running smoothly again soon.
Removing the Old Ice Maker Module
Start by finding the ice maker module. It is usually located at the top or side of your Viking freezer compartment. You might see a plastic cover over it. After you find it, use a Phillips screwdriver to take out the screws that hold the cover, which will let you see the ice maker module.
Next, look for the electrical connector that connects the module to the refrigerator’s wiring. It will likely have a tab or lock that you need to press down before you can pull it apart. Make sure to hold the connector well so you do not hurt the wires.
Once the electrical connector is off, use a flathead screwdriver to carefully lift the module out of the bracket that keeps it in place. Once it is loose, gently pull the old module out. Be careful not to damage anything around it.
Installing the New Module
Align the new ice maker module with the mounting bracket. Make sure it sits flat against the back wall of the freezer. Secure the module by tightening the screws you took out before. Don’t over-tighten them. This can hurt the module or the bracket.
Next, plug in the electrical connector to the matching socket on the new module. Make sure it clicks in tight. This will power the ice maker and let it talk to the refrigerator’s control system.
Look at the module for any obvious damage, like bent pins or wires that are frayed. If you see any problems, change the module right away to avoid safety issues.
Testing Your Viking Ice Maker Post-Replacement
With the new ice maker module in place, it’s time to check if it works properly. First, plug your refrigerator back into the power source. Then, turn the circuit breaker on.
By doing these simple steps, you can see if the module replacement was successful and get back to enjoying a steady supply of ice.
Initial Checks and Setup
Give your refrigerator enough time to return to its normal temperature. This usually takes a few hours. Afterward, check if the ice maker is getting water. You can do this by looking at the fill tube at the back of the unit. If you see water flowing through the tube, it’s a good sign that the water supply is working.
Next, turn on the ice maker using the on/off switch. This switch is usually found on the control panel of your Viking refrigerator. Once it’s on, the ice maker will start its process. It will fill with water, freeze it, and then dispense ice into the bin.
Doing these simple checks will help ensure that your Viking ice maker is properly set up and ready to make ice.
How to Troubleshoot Post-Installation Issues
Even after you install your ice maker, you may still face some problems. If your Viking ice maker is not making ice, first check if the power switch is on. Next, confirm that the freezer temperature is set to around 0°F (-18°C). If everything looks good but it still doesn’t work, check the water supply line. Make sure the valve is fully open and that there are no kinks or clogs in the line.
Also, look at the ice maker’s fill tube. There should be no ice blockages that could block the water flow. If you find any ice, use a warm cloth to melt it away. Do not use sharp tools, as they might damage the tube and cause more issues.
Keep in mind, checking these simple things after installation can help your Viking ice maker work properly again.
Conclusion
In conclusion, this DIY Viking Ice Maker Module Replacement guide can save you time and money. By following safety rules and using the correct tools, you can easily replace the ice maker module. Taking care of your ice maker will help it last longer. If you face issues after the replacement, troubleshoot the problems. For more tips, check out our guide on Resolving Viking Refrigerator Ice Maker Stopped Working. Stay aware, be proactive, and enjoy your working Viking ice maker.
Frequently Asked Questions
How do I know if my Viking ice maker module needs replacing?
A drop or stop in ice production, odd sounds, leaks, or small, uneven ice are clear signs that your Viking ice maker module may need to be replaced.
How often should I clean my Viking icemaker?
Cleaning your Viking ice maker bin should be done every three months. Wipe down the areas around it too. This will help stop mineral buildup and keep your ice hygienic.
Is it recommended to hire a professional for the replacement of a Viking ice maker module or is it a DIY appliance task?
It is recommended to hire a professional for the replacement of a Viking ice maker module. Due to the complexity of the task and potential risks involved with handling electrical components, it’s best to seek assistance from someone with experience in appliance repair to ensure safety and proper installation.


