The oven light is a very important part of your Viking oven. It lights up the inside, so you can check on your food without opening the door. This helps the cooking stay on track. After some time, even the best ovens may need a new bulb for the oven light. The good news is that changing a burnt-out light is easy to do. You don’t need to call a repair service for this task.
In this guide, we will walk you through the simple steps on how to replace range light bulbs in your Viking appliance. We’ll also discuss why these light bulbs matter and how they contribute to the efficient use of your oven. By following our instructions, you can easily maintain your oven’s functionality and keep it running smoothly for all your culinary adventures.
Understanding Your Range Light Bulb

Before starting the replacement process, it is important to know what type of light bulb your range uses.
The Importance of a Well-Lit Range
A good light bulb in your oven is not just nice to have, but it’s important for safety too. The bright light from your oven helps you see what you’re cooking. You can watch sauces bubble, check baked goods as they brown, and make sure nothing is burning.
Having a bright oven also helps avoid accidents. When you can clearly see inside, you’re less likely to burn yourself while checking or taking out food. This is very important when you’re moving hot pots and pans.
If you see your oven light flickering or going out, make sure to change it right away. This simple step can really improve your cooking experience.
Different Types of Range Light Bulbs
There are two main types of range light bulbs:
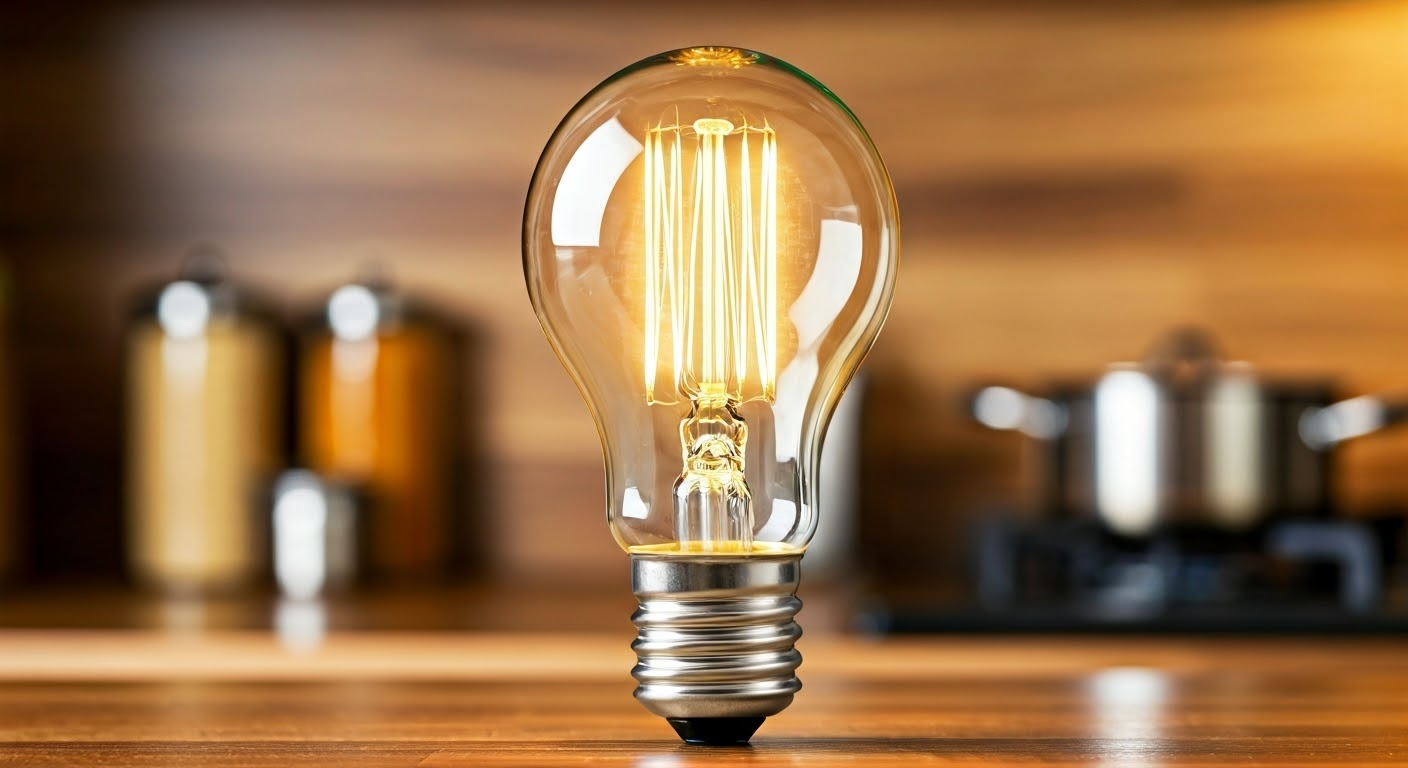
- Incandescent Light Bulbs: These are the most common and cheap option. They give off a warm, yellow light. While they are not very energy-efficient, they are a good choice for those on a budget.
- Halogen Light Bulbs: These bulbs are gaining popularity in ranges. They produce a bright, white light. This light lets you see the true color of your food under the oven light.
If you are not sure which bulb fits your range, check your owner’s manual. You can also look for markings on the old bulb. You should find details about the bulb type and wattage. If you need a suction cup to take out the bulb, it usually comes with the new bulb or the original papers for your range.
Preparing to Replace Your Range Light Bulb
Replacing your range light bulb is something most homeowners can do, even if they have little DIY experience. But, it is important to prepare before starting. Some preparation can save you time and avoid mistakes later.
Safety First: Turning Off the Power
Working with any electrical appliance requires care, and range lights are included. Changing a light bulb may seem easy, but safety is important. Always turn off the power to your range before you start. This step can help prevent electrical shocks.
To turn off the power, find the circuit breaker box in your kitchen. Look for the breaker marked “Range” or “Oven.” Once you find it, carefully switch it to “Off.” Check to make sure the range is off by trying to turn on the oven light or burner.
By taking this simple step, you can change the light bulb knowing that you are safe from electrical dangers.
Gathering the Right Tools and Replacement Bulbs
Once you have safely switched off the power to your range, it’s time to get the tools and new light bulb you need. Replacing a range light bulb is simple and does not need a lot of special tools. Here is what you usually need:
- New Light Bulb: Make sure to buy the right type of bulb (either incandescent or halogen) and the right wattage for your range model.
- Work Gloves (Optional): Putting on gloves is a good idea for safety when working with electrical parts. It’s also helpful for handling halogen bulbs because oils from your skin can shorten their life.
- Soft Cloth (Optional): A soft cloth can help you wipe away any dust or dirt.
Having these items ready will help make replacing the bulb easier and quicker.
A Step-by-Step Guide to Replacing Range Light Bulbs

Now that you have the tools you need and the power to your range is off, it’s time to change the burnt-out light bulb. Don’t worry, it’s simple! Just follow these easy steps:
Remember, these steps are a general guide. It’s always a good idea to check your range’s manual for detailed instructions.
Step 1: Identify the Type of Bulb and Fixture
The first step is to find out what type of bulb and fixture your range light uses. Most modern ranges use either incandescent or halogen oven light bulbs. Check your range’s user manual or look at the old bulb for information on the right type and wattage you need for replacement.
- Incandescent Bulbs: These bulbs have a standard screw-in base, which you twist into a socket. They usually have a glass or plastic cover that you need to remove to reach the bulb.
- Halogen Bulbs: Halogen bulbs are popular in newer ranges. They are energy-efficient and bright. These bulbs often have a two-pronged connection and might be covered by a shield that you need to remove.
Knowing what type of range light you have will make it easier and safer to move on to the next steps.
Step 2: Removing the Old Bulb
Once you know what type of bulb you have, you can take out the old, burnt-out one. If your range light has a glass cover, hold it carefully. Turn it counterclockwise to unscrew it. Place the cover in a safe spot.
For incandescent bulbs, you can usually unscrew them by turning them to the left. If it’s hard to turn, try wearing gloves for a better grip or use a soft cloth to protect your hands. For halogen bulbs, hold the bulb gently and pull it straight out from the socket. Do not twist it because halogen bulbs can break easily with their two pronged connection. If there is a bulb shield, take that off and put it aside. If you have trouble pulling out a halogen bulb, check your range manual. It may show you how to use a suction cup to help remove it.
After you have taken out the old bulb safely, make sure to throw it away properly.
Step 3: Installing the New Bulb
With the old bulb taken out, it is time to put in the new bulb. If you are installing a halogen bulb, be careful. Use a tissue or wear gloves. This will help you avoid getting oils from your skin on the bulb. Those oils can reduce the bulb’s lifespan.
Next, line up the new bulb with the socket. Gently push it in while turning it clockwise until it fits snugly. Don’t tighten it too much. This can harm the bulb or the socket. If your light has a protective cover for the bulb, put it back on. Make sure it is aligned correctly.
Lastly, if the light has a cover, twist it clockwise to install it again. Make sure the cover is on tight. This will stop moisture and dirt from getting inside the fixture.
Conclusion
Good lighting in your kitchen is very important. It helps you cook well and creates a nice atmosphere. Knowing how to replace your range light bulbs and understanding their importance can make your cooking better. If you follow an easy step-by-step guide, you can fix common problems and keep your range light bulbs working well. Always prioritize safety when working with electrical parts. If you want to know more, visit our blog on the 4 Common Viking Range Repair Problems for detailed information.
Frequently Asked Questions
Can I use any bulb for my range light?
No. It is very important to use the right oven light bulb as stated in your appliance user manual. Using the wrong light bulb can lead to a fire risk. Check your manual for the proper wattage and type of oven light bulb. Before you buy a new bulb, make sure to look for any model numbers on the old bulb.
How often should I replace my range light bulb?
The life of oven light bulbs can change based on how you use them and the type you have. It’s a good idea to replace your oven light bulb every 1 to 2 years. You should also do this right away if you see it flickering or getting dim. To make sure you have steady and bright light, you can replace it when you clean your oven.
Is it safe to replace a range light bulb when the appliance is plugged in?
No, it is not safe. You should always unplug your range or switch off the circuit breaker that controls the power to the oven before changing the light bulb. This helps to avoid any risk of electrical shock and keeps you safe.


