There’s nothing more annoying than opening your Viking freezer on a hot day and seeing a big block of ice instead of ice from your ice maker. A frozen Viking ice maker is a common problem, especially when it’s used a lot. In this guide, you will learn about the reasons, signs, and easy fixes in repairing a frozen ice maker. You will have the knowledge you need to get your fridge making ice again quickly.
Understanding Why Ice Makers Freeze

Ice makers work by taking in water, freezing it, and sending out ice. When this process gets interrupted, issues happen. One common issue is a frozen ice maker. The main reason for this is often frost buildup. Water vapor in the freezer can freeze when it hits cold surfaces.
As time goes by, frost can build up on important parts of the ice maker, like the evaporator plates and water lines. This frost makes it harder for water to flow and ice to come out. As a result, the ice maker may freeze and stop working. If you understand why this happens, you can take steps to avoid it and keep your ice maker running well.
Common Causes of Ice Maker Issues
Several things can cause ice maker freeze-ups. It’s not just frost buildup. Problems in the fridge can also play a role, especially with the water supply line. If the water pressure is too low, the ice mold fills slowly. This causes the remaining water to freeze, which can create a blockage.
On the other hand, if the water pressure is too high, it can lead to overfilling and freezing. A clogged water filter can be another reason for this problem. When the water filter is blocked, it stops water flow. This acts like low water pressure and can cause similar freezing issues. Checking the water filter in your fridge and making sure there is good water pressure can really help avoid these problems.
Signs Your Ice Maker Is Frozen
Recognizing the early signs of a frozen ice maker can help you avoid problems and expensive appliance repair costs. The main sign is a drop in ice production. If your ice machine is making less ice than usual or even none at all, it could indicate a freeze.
You may also see frost or ice buildup inside the ice maker or on its surface. Sometimes, this frost can also cover the walls of your freezer. Additionally, if you hear strange noises, like buzzing, humming, or clicking coming from the ice machine, it may be facing an issue due to freezing. If you notice any of these signs, it is important to take action quickly. This will help prevent damage to your fridge and keep your ice maker working well for a long time.
Step-by-Step Guide to Thawing Your Ice Maker
Don’t worry if your ice maker gets frozen! Thawing it out is usually quite simple. This guide will help you defrost your ice maker safely, so you can enjoy your cold drinks again. Before you start any appliance repair, keep safety in mind! Always unplug your fridge to avoid any electrical problems.
Safely unplugging and removing the ice maker from the freezer
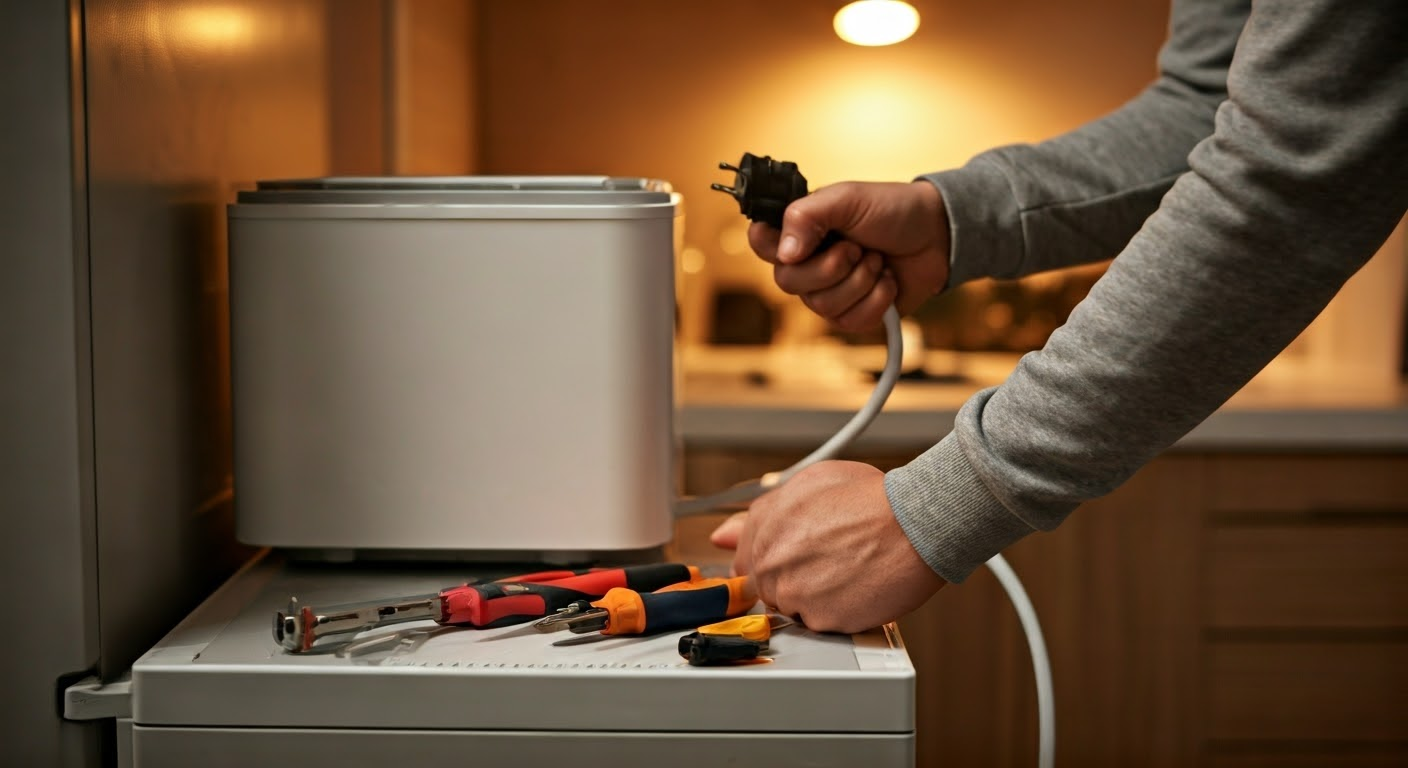
The first thing you need to do to free your ice maker from ice is to unplug it. Find the power cord for your fridge, which is usually at the back. Carefully pull it out from the wall outlet. This is very important to avoid electrical shock while melting the ice.
After you unplug it, look for your ice maker, which is mostly at the top of the freezer. Depending on the model of your fridge, the ice maker may come out. Check your user manual for clear steps on how to take it out. If you can remove it, do so gently and put it on a towel. This will help catch any ice that melts.
Preparing the necessary tools and materials
Thawing a frozen ice maker is simple and does not need much equipment. It’s good to gather everything you need first. Here’s what you should have:
- Towels: Keep some towels nearby. They will soak up melting ice and help stop water from hurting your floor.
- Warm water: You will need a bowl of warm water to rinse the ice maker after it has thawed.
- Soft cloth: Use a soft cloth or sponge to clean and dry the ice maker once you finish.
- Optional: Hair Dryer: If you want, you can use a hairdryer set to low heat to help thaw the ice faster. Just be very careful. Make sure the hairdryer does not get too hot or touch the water.
Thawing the ice maker using different methods (i.e. hair dryer, warm water)
To defrost a frozen ice maker, you can use a hair dryer or warm water. These methods will help melt the ice faster. If you use a hair dryer, set it to low heat. This will prevent any damage to the ice maker or the water supply line. Another option is to gently pour warm water over the ice maker to help it thaw. Make sure not to use too much heat to avoid problems with the appliance. Proper thawing is important for your ice machine to work well.
Cleaning and checking for any damage or clogs in the ice maker components
Once the ice has completely melted, take a moment to check the parts of the ice maker for any damage or blockages. Use warm water and a soft cloth to clean the ice mold, ice bucket, and any removable pieces. Make sure to look closely at the water inlet valve and the water line going to the ice maker. Check for any bends or clogs that could stop proper water flow.
If you see any cracks, leaks, or broken parts, it is best to replace them or talk to a skilled appliance repair technician. A good cleaning will not only get rid of dirt but also help avoid future freezing problems.
Reinstalling and testing the ice maker after thawing
With the ice maker thawed, cleaned, and checked, it’s time to put it back together and test it. If you took the ice maker out of the freezer, put it back in carefully. Follow the instructions from the manufacturer. Then, plug your refrigerator back into the power outlet. Let the freezer get to the right temperature, which is usually around 0 degrees Fahrenheit.
Once the freezer is cold enough, turn on the ice maker. It might take a few cycles before it starts making ice. Watch how it works. Listen for any strange noises and make sure the ice cubes drop into the ice bucket correctly. If everything looks good, congratulations! You have done a great job thawing and fixing your ice maker.
Conclusion
In conclusion, knowing why your icemaker is frozen is important for fixing it. You can use the step-by-step guide in repairing a frozen ice maker to safely thaw your appliance and check for any damage. This will help you get it working again. Also, remember to defrost your ice maker regularly to stop it from freezing in the future. If you want to learn more about ice maker care and troubleshooting, check out our detailed blog about the “Does Your Ice Maker Stop When Full.” Taking good care of your appliances makes your kitchen experience better and easier.
Frequently Asked Questions
How often should I defrost my ice maker?
The best time to defrost your ice maker depends on how much you use it and the humidity in the air. A good rule is to defrost every 3 to 6 months. This can help your ice maker work well and stop frost from building up.
How can I prevent scale buildup in my ice maker?
Using filtered water or putting in a water softener can stop mineral build-up in your ice maker’s water supply line. This helps keep it clean and makes ice better.
Is it safe to operate the ice maker immediately after defrosting?
It is a good idea to wait until the freezer gets to the best temperature, which is about 0 degrees Fahrenheit. This way, when you turn the ice maker back on, you can avoid overloading it. It will help the ice maker work well and make good ice. This can also help to prevent the need for appliance repair.