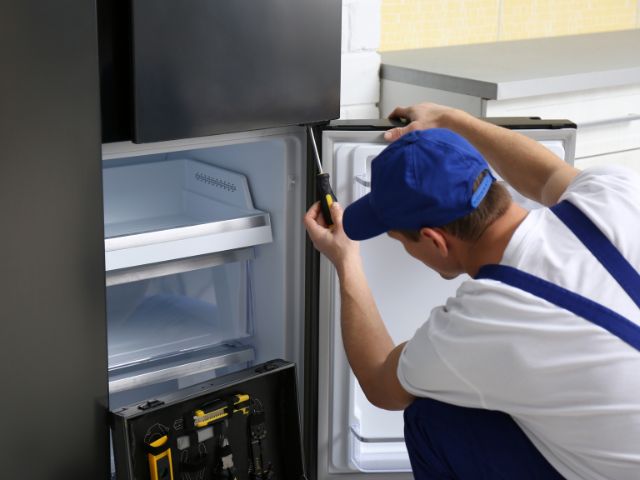
A Viking cooktop that won’t heat up properly can be very frustrating. Usually, a bad heating element is the cause. This is a common problem for many homeowners. This guide will help you fix it by yourself. Replacing a heating element is easier than you might think. It is a DIY project that can save you money on a service call. We will show you every step of the way. You will gain the knowledge and confidence to make your cooktop work again.
Signs Your Heating Element Needs Replacement
A broken heating element can show up in different ways. Here are some signs to watch for:
- Not enough or uneven heating: If your cooktop element is not getting hot enough or is heating in some areas only, that means there is a problem. The element may heat slowly, heat only in specific spots, or not heat at all.
- Visible damage: Check your heating element for any cracks, blisters, or breaks. These clearly show that the element needs to be replaced.
If you see any of these signs, it’s very possible that your heating element needs replacement. Luckily, it’s a simple fix that many people can handle by themselves.
Preparing for Your DIY Replacement Project
Before you start the replacement, get all the tools and equipment you need. This will help the process go smoothly and work better. Having everything ready will stop breaks and make sure you finish the installation without problems. Keep in mind that getting ready is important for a successful DIY repair.
Also, make safety a priority. Turn off the power to your cooktop at the circuit breaker before you start. You must not skip this step. Working on electric appliances without turning off the power can cause serious shocks.
Tools and Equipment Needed
To replace your cooktop heating element, you will need some basic tools:
- Screwdrivers: Make sure you have both Phillips and flathead screwdrivers. You will use them to take out the screws holding the cooktop and the element.
- New heating element: This is the main item! Use the model number of your appliance to get the right replacement heating element.
- Voltage tester: This tool is important to check that the power is off before you start working.
Some optional tools that can help are:
- Work gloves: These can protect your hands from sharp edges and heat.
- Flashlight: Use it to brighten the work area if necessary.
- Shop towel: Put your screws on the towel to stop them from rolling away.
Having these tools on hand will make changing the heating element easier and faster.
Safety Tips Before Beginning the Replacement
Before you start working on your cooktop, safety should come first. Keep these tips in mind:
- Disconnect the power: Make sure the power to the cooktop is off at the circuit breaker. Check with a voltage tester to confirm no electricity is flowing to the appliance.
- Work in a well-lit area: Make sure you can see well. Use a flashlight if you need more light.
- Handle the old element carefully: The old element may still be warm, even if it’s been off for some time. Let it cool down completely before you take it out.
Following these safety tips will help you avoid accidents and make sure you replace it successfully.
Step-by-Step Guide to Replacing Your Cooktop Heating Element
Replacing a heating element on your cooktop is a simple DIY task. It only takes a few easy steps. If you follow the instructions, you can quickly get your cooktop working again.
Now, let’s go through the steps to replace the heating element.
Step 1: Disconnecting Your Cooktop from Power
Before you start working on your cooktop, you must unplug it from the power source.
First, find the circuit breaker that controls the power to your cooktop. Turn off the breaker. Then, check that the power is really off by trying to turn on the cooktop. For extra safety, you can use a non-contact voltage tester to make sure there is no live electricity.
By doing this, you reduce the risk of getting an electrical shock while working on the appliance.
Step 2: Removing the Faulty Heating Element
With the power turned off, lift your cooktop carefully. You may need to unscrew it to lift it up.
Next, find the heating element underneath. Look for the wires that connect it to the cooktop’s wiring. Carefully disconnect these wires. Remember where they were for when you install the new element.
After you disconnect the wires, gently lift the old element out of its place. Now that the old element is out, you can install the new heating element.
Step 3: Installing the New Heating Element
- Align the new heating element with the mount on the cooktop.
- Gently lower it down so it sits securely.
- Reconnect the wires to the new element.
- Match the colors and positions of the wires to how they were on the old element.
- Make sure the connection is secure to avoid electrical problems.
- After connecting the wires, carefully lower the cooktop back into place.
- Use the screws you took out earlier to secure it.
Step 4: Reconnecting Your Cooktop and Testing
With the new heating element in place, you need to connect your cooktop to the power again. Go back to your circuit breaker box and carefully turn the breaker on.
Before you use your cooktop, check if the new heating element is working. Turn the element to the highest setting. Watch to see if it heats up evenly and in a good amount of time.
If the element heats up well and you don’t see any problems, great job! You have successfully replaced your cooktop heating element.
Conclusion
In conclusion, it’s important to know when to change the bad element on your cooktop. This helps keep your kitchen appliances working well. You can follow the step-by-step guide in this blog to safely do a DIY cooktop heating element replacement with the right tools. Regular care and timely changes make sure your cooktop operates efficiently. If you want more tips, check out our blog about What to Do When Viking Cooktop Burners Stop Working. Stay proactive in keeping your kitchen in great condition!
Frequently Asked Questions
Can I replace a heating element myself?
Yes, changing a heating element on a cooktop is a common DIY repair for appliances. If you follow the steps in this guide, you can do it yourself. This will help you save both time and money.
How do I know if my cooktop element is faulty?
Signs that a heating element may be faulty are if it does not heat well or heats unevenly. You might also see damage like cracks or blisters. In some cases, the appliance may not heat at all.
How long does the replacement process take?
The time it takes to replace a heating element depends on the type of appliance. Usually, you can finish the replacement in 30 to 60 minutes. This includes disconnecting the cooktop and testing the new element.


