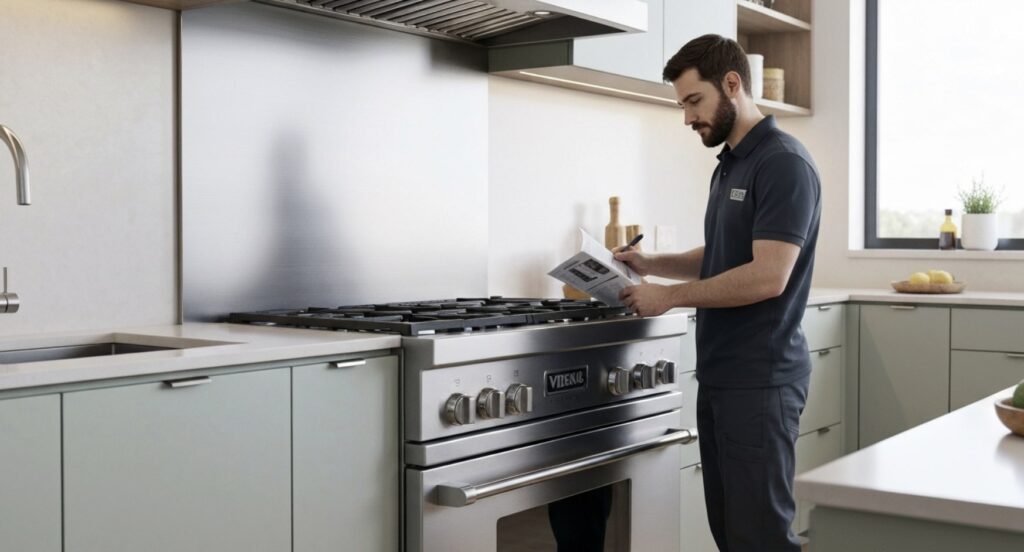
Many people love using gas cooktops because they heat up fast and let you control the temperature really well. But, just like any other kitchen appliance, they can run into problems after a while. A common issue is when the ignition switch doesn’t work right. If your burners aren’t lighting up or keep sparking even when turned off, it might be time for a new ignition switch.
In this blog post, we’re going to walk you through with some expert advice and easy-to-follow steps on cooktop ignition switch replacement. We’ll cover how to tell if your ignition needs changing, getting ready for fixing it yourself including what tools and stuff you’ll need; staying safe while doing it; plus every step needed to swap in a new one. And not forgetting tips on keeping everything working smoothly so hopefully you won’t have trouble again soon.
Ready? Let’s dive into fixing that cooktop!
Signs Your Ignition Switch Needs Replacement
The ignition switch is super important for your gas cooktop because it helps the burners light up. When everything’s working right, turning the control knob to Lite makes a spark that lights the gas burner. But sometimes, this switch can wear out or break down, causing problems like:
- Burners Not Sparking
- Constant Sparking
- Inconsistent Ignition
- Delayed Ignition
- Unresponsive Control Knobs
If any of these things happen, it’s crucial not ignore them as they ensure both smooth cooking and safety on your cooktop .
Preparing for Ignition Switch Replacement
Before you dive into swapping out the ignition switch on your gas cooktop, there are a few important steps to tackle first. These will keep you safe and help things go smoothly. Here’s how to get ready for changing the ignition switch:
- Collect Your Tools: Make sure to gather all the tools and stuff you’ll need, like a 1/4-inch nut driver, screwdriver, work gloves, and of course, the new ignition switch itself. Having these at arm’s reach will speed up your task.
- Turn Off Power and Gas: For safety reasons, unplug your cooktop from its power source in the wall outlet and turn off the gas supply valve completely. This step makes sure that no electricity or gas is flowing while you’re working on it.
- Lift Away Burner Heads: To get to where we need without anything in our way – take off any grates covering them then carefully remove each burner cap from atop their respective heads; this gives us direct access so replacing that part becomes easier than ever before!
By sticking with these prep steps ahead of time ensures not only can move forward confidently but also keeps everything running safely when switching out an old faulty one for something brand spanking new!
Tools and Materials You Will Need
To replace the ignition switch in your gas cooktop, you’ll need the following tools and materials:
- 1/4-inch nut driver
- Screwdriver
- Work gloves
- Replacement ignition switch
- Digital camera or labeled masking tape
By having these tools and materials ready, you’ll be well-equipped to replace the ignition switch efficiently.
Safety Measures Before Starting the Process
Before replacing the ignition switch on your gas cooktop, ensure safety first:
- Let the cooktop cool completely to avoid burns.
- Unplug and turn off the gas supply.
- Remove control knobs for easier access to the ignition switch.
- Wear protective gloves to prevent injuries.
Following these steps ensures a safe replacement process.
Step-by-Step Guide to Replacing the Ignition Switch
After getting ready and making sure you’re safe, let’s get into how to change the ignition switch on your gas cooktop. Here’s a step-by-step guide that’ll help you do it right:
- Turning Off Power and Gas: Start by unplugging the power cord from its socket and turning off the gas supply valve. This is important for keeping safe while you work.
- Taking Apart the Cooktop Surface: Take off all grates on top of your cooktop, then remove the caps from each gas burner head. Next, unscrew and take out these burner heads.
- Getting to The Ignition Switch: Pull off all control knobs found on top of burner valves; this will expose some screws holding down part of your stove’s surface—unscrew them too! Then lift up this piece (the main top) carefully away from rest of stovetop.
- Putting in The New Ignition Switch: Attach new switches onto stems where old ones were located at each control valve for burners; don’t forget about putting back any small parts like bushings here as well! Follow instructions or pictures you’ve taken earlier to correctly connect wires back onto spark module which powers up ignitions!
- Making Sure It Works: Put everything back together starting with placing main top over burners again securing it tightly with screws followed by pushing knobs back in place at their respective spots around controls area.
By following these instructions closely, replacing an ignition switch in your kitchen setup should be simple and enable functionality to return without much difficulty.
Maintenance Tips to Prevent Future Issues
To keep your cooktop’s ignition switch working well for a long time, it’s key to take good care of it. Here are some tips on how to do that and avoid problems later:
- Regular Cleaning and Care: By keeping the burner heads and cooktop clean, you can stop debris or grease from messing with the ignition. It’s best to use gentle cleaners and a soft cloth for this job. Steer clear of strong chemicals that could harm the igniter or switch.
- Avoid Excessive Force: When using control knobs and the ignition switch, be gentle. Pushing too hard or turning them with too much force might wear them out faster or even break them.
- Promptly Address Malfunctions: If something seems off with your ignition switch or igniter, like if it sparks weirdly or starts up slowly, don’t wait around to get it fixed. Ignoring these signs can cause more damage over time which means spending more money on repairs.
- Schedule Professional Maintenance: Having a pro check out your cooktop now and then is a smart move. They’ll look at all its parts including the ignition switch and igniter making sure everything’s in top shape.
By following these maintenance steps, you can ensure that your cooktop’s ignition system remains in excellent condition and avoids any future issues.
Conclusion
Keeping your cooktop’s ignition switch in good shape is key to having a kitchen that’s both safe and works well. It helps to know the warning signs of a switch that isn’t working right. By taking the right safety steps on cooktop ignition switch replacement, you can change it out without much trouble by following these easy-to-understand directions.
Freezer not cooling? Check out our blog, “Dealing with a Viking Freezer Not Cooling Problem,” for tips on how to troubleshoot and fix this issue. If you’re ever unsure about handling a repair yourself, don’t hesitate to contact Viking Appliance Repair Pros for assistance. Stay proactive in caring for your appliances to avoid frequent repairs down the road.
Frequently Asked Questions
How often should I replace my cooktop’s ignition switch?
The lifespan of a cooktop’s ignition switch varies based on usage and maintenance. It’s recommended to replace it every 5 to 7 years for optimal performance. Regular cleaning and debris removal can extend the switch’s durability.
Can I replace the ignition switch myself, or should I hire a professional?
Changing the ignition switch on your own can be done, but safety should come first. Gas appliance repairs can be risky, so it’s best to hire a professional if you’re not confident in handling them. Professionals have the right tools and expertise to safely replace the ignition switch and ensure proper installation.
Are there different types of ignition switches for cooktops, and how do you choose the right one?
Choose the right ignition switch for your cooktop by ensuring it matches your cooktop model as recommended by the manufacturer or an expert.


