A discolored cooktop is a common issue for people who cook at home, especially for Viking cooktop owners. You often see this discoloration on the burners. It can happen due to spills, grease buildup, or heat damage. Even though it looks bad, don’t worry! This discoloration doesn’t mean your appliance is ruined. With some easy cleaning methods, you can make your cooktop look like new again. This guide tackles how to fix a cooktop with discolored burners effectively. Whether it’s a gas or electric cooktop, the first step in restoring your burners to their former glory is a thorough cleaning.
Common Causes of Discoloration on Burners
Discoloration on cooktop burners usually happens because of the high heat they produce when cooking. This heat, along with food spills and grease splatters, makes it easy for tough grime to form. Over time, this grime can change the color of the burner surface, which can look unattractive with brownish or yellowish spots.
Different burners can show different types of discoloration. For instance, gas burners that have open flames often get soot buildup. This shows up as black or brown marks. Electric burners don’t usually get soot, but they can still become stained from mineral deposits left by boiling water and other liquids.
Preparing to Fix Your Discolored Cooktop Burners
Before starting the cleaning process, it is important to get ready. This helps to keep you safe and ensures good results. First, gather all the cleaning supplies you need. What you will need can change based on the burner type and how bad the discoloration is. Common items to have include baking soda, white vinegar, dish soap, a non-abrasive sponge, and a soft cloth.
Once you have all your cleaning items, the next step is to prepare your cooktop. Always check that your cooktop is turned off and that the burners are completely cool before you start cleaning.
The Step-by-Step Guide to Fixing Discolored Burners
Get your cleaning tools ready and make sure you have safety measures set. Now, let’s begin cleaning those dirty burners. This guide will help you clean your cooktop so it shines and works well again. Just follow these simple steps for a safe and effective cleaning job.
Be patient! If some stains are tough to remove, you might need to repeat the process or let the cleaning solution sit a bit longer.
Step 1: Inspecting the Extent of Discoloration
Start by looking closely at how discolored your burners are. Different amounts of discoloration mean you might need to clean them in different ways. If there’s a little discoloration, a baking soda paste may be enough. For tougher stains, you may need to let them soak longer or use a cleaner from the store.
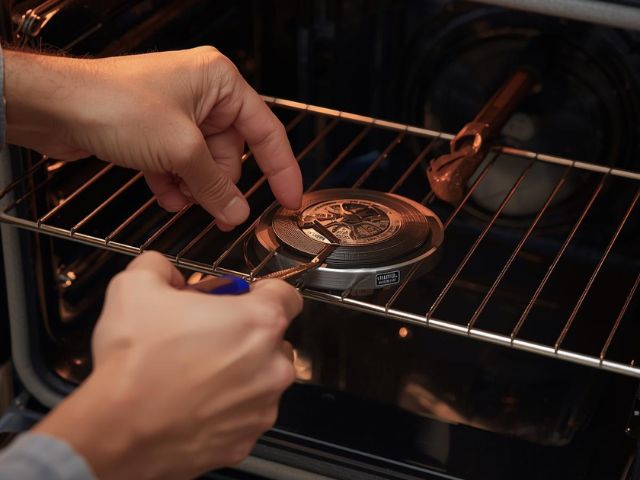
For gas burners, check the burner caps and grates. These spots tend to get discolored from flames and food spills. If you have electric burners, check the heating element for any discoloration or stuck-on mess.
Knowing where the discoloration is and how bad it is will help you choose the best way to clean.
Step 2: Applying the Cleaning Solution
Now that you have checked your burners, it’s time to use your cleaning solution. A simple and effective option for many cooktop burners is to make a paste with baking soda and water. Mix these two ingredients to create a thick paste and spread it over the discolored spots on your burners.
If you have tougher stains, try adding a few tablespoons of white vinegar to your baking soda paste. If you want a gentler way, you can use a mixture of warm water and dish soap. Make sure to cover the discolored areas well with your chosen solution.
Allow the solution to stay on the burners for at least 20 to 30 minutes. This gives the cleaning agents enough time to work on the grime and discoloration.
Step 3: Scrubbing the Discolored Areas Gently
After the cleaning solution has sat for the right amount of time, it’s time to gently scrub the stained areas. Use a non-abrasive sponge or a soft brush to avoid scratching the burner. Work the sponge or brush in small circular motions, focusing on the areas that are the most discolored.
If you find stubborn spots, you may need to press a little harder or scrub again. Remember, be patient! Please don’t use too much force, as this can harm the burner’s finish.
While you scrub, the baking soda paste will start to lift away the grime, showing a cleaner surface below. You may also see the paste change color as it takes in the dirt and grease.
Step 4: Rinsing and Drying the Burners
Once you’re happy with the scrubbing, it is time to rinse off the cleaning solution and any dirt that was removed. For gas burners that have parts you can take off, rinse the burner caps and grates under warm running water. If you have electric burners or gas burner parts that cannot be removed, use a clean, damp cloth to wipe away the remaining cleaning solution.
Make sure to remove all signs of the cleaning solution. This will help avoid damage or rust. After rinsing, dry all burner parts with a clean, dry cloth. It’s important that the burner parts are completely dry before you put them back together or use your cooktop again.
Any moisture left on the burners can cause rust, especially in gas burners. It can also create electrical problems for electric burners. By fully drying the burners after cleaning, you help keep them working well and last longer.
Contact Viking Appliance Repair Pros Today!
If your cooktop requires more than a simple cleaning, or if you’re uncomfortable performing these steps yourself, don’t hesitate to seek professional help. For all your appliance repair and maintenance needs, contact the experts at Viking Appliance Repair Pros. Our team of skilled technicians is well-equipped to handle a wide range of appliance issues, ensuring your appliances are always in peak working condition. Whether it’s a discolored gas burner or an electric burner that needs attention, taking the time to clean and maintain your cooktop can extend its lifespan and ensure optimal performance.
Conclusion
To keep your cooktop shiny and clean, you need to clean it regularly and take care of it. By following the steps in this guide on how to fix a cooktop with discolored burners, you can bring your burners back to their original shine. Remember to use the right cleaning products and tools, and always be safe while you clean. If you find tough discoloration, get help from our professionals at Viking Appliance Repair Pros to keep your appliance in great shape. For more tips on taking care of your home appliances, check out our blog on Why Cooktops Spark Randomly and How to Stop It.
Frequently Asked Questions
Can all types of cooktop burners be cleaned the same way?
While the main ideas are the same, the way you clean can change a little based on your cooktop and burner type. Always check your appliance manual for cleaning instructions that are specific to your model.
How often should I clean my cooktop burners to avoid discoloration?
It is a good idea to clean your cooktop burners at least once a week. This helps to prevent grime buildup and reduces discoloration. If you use it a lot, you may need to clean it more often.
What should I do if the discoloration doesn’t come off with cleaning?
If your cooktop burner still looks dirty after you clean it, you may need to replace that burner part. A skilled appliance repair technician can check it out and suggest what to do next.