A broken dishwasher spray arm can be a big trouble for homeowners. It can result in dishes that are not cleaned well and create a lot of frustration. However, with some simple DIY repair tips, you can figure out the problem and save money on a service call. This helpful guide will show you how to fix a broken dishwasher spray arm by yourself. You will feel ready to solve this usual appliance issue with ease!
Identifying Common Issues with Dishwasher Spray Arms
Dishwasher spray arms are simple parts, but they can have some problems that hurt how well they work.
- One common issue is clogging. Food particles, limescale, and other bits can get stuck in the spray arm’s nozzles. This blockage can stop water from flowing and make cleaning less effective.
- Another problem is mechanical damage. Over time, a spray arm can get cracks, breaks, or bend, especially if it is around high heat or harsh soaps. These problems can make it hard for the spray arm to turn or spray water properly. Also, if the connection of the spray arm is loose or damaged, it can lead to bad performance.
Preparing for the Repair
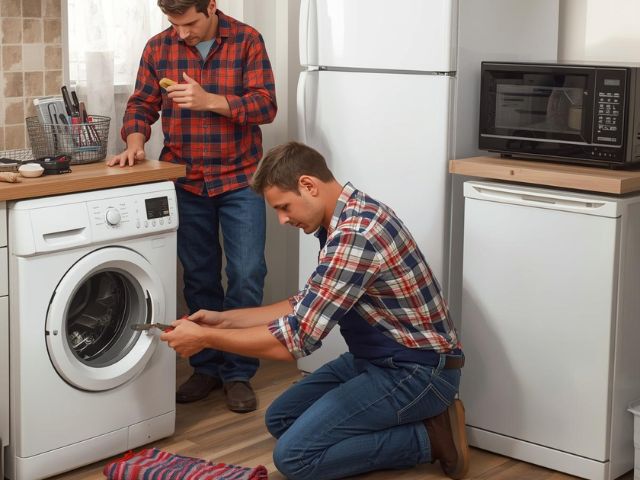
- Before starting the repair, prepare by gathering all necessary tools and materials: replacement spray arm, screwdriver, pliers, and a bucket or towels. Ensure a clean, well-lit workspace for easy visibility during the repair. Prioritize safety by turning off the dishwasher’s power at the circuit breaker and disconnecting the water supply line to prevent electrical shock or flooding.
Tools and Materials Needed for Fixing a Spray Arm
- For a successful DIY spray arm repair, gather a replacement spray arm that fits your dishwasher model. Check the user manual or search online for the model number. You’ll also need basic tools like a screwdriver (both Phillips and flat-head), pliers, a bucket, and towels to catch any water during the repair.
Safety Precautions Before Starting the Repair
- Before beginning any DIY repair on your dishwasher, prioritize safety. Start by unplugging the appliance and turning off the circuit breaker to avoid electric shock. Locate and shut off the water supply using the valve under your sink. Finally, wear safety gear like gloves and glasses to protect yourself from potential hazards.
Step-by-Step Guide to Fixing the Spray Arm
Now, let’s go through the steps to fix your dishwasher spray arm. This guide will show you the basic steps you need to follow. However, it’s smart to check your dishwasher’s user manual for details about your specific model.
Keep in mind, if any step looks hard or if you feel unsure about fixing appliances, it’s better to call a skilled technician for help.
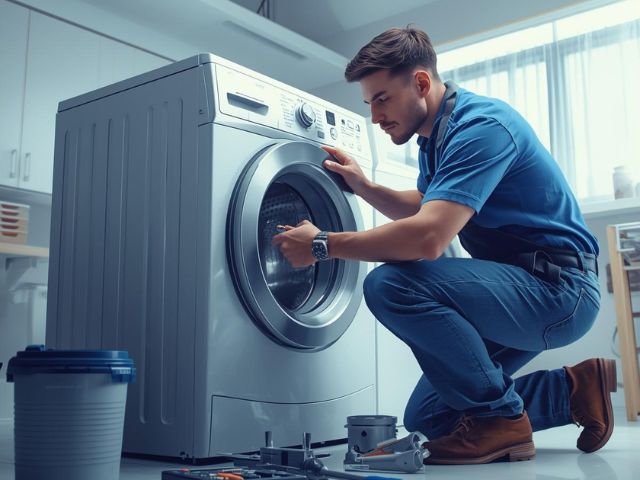
Step 1: Inspecting the Spray Arm for Damage
The first step is to check the spray arm carefully for any visible damage. Open the dishwasher door and take out the upper and lower racks. This will give you clear access to the spray arm(s). Depending on your dishwasher model, there may be one or two spray arms to check.
Look closely for any cracks, splits, or broken pieces on the spray arm. If it is made of plastic, check for any signs of melting or bending. Don’t forget to look at the spray arm’s nozzles. Make sure they are not blocked by food or mineral buildup.
If you find any serious damage, like cracks or breaks, you will need to replace the spray arm. A damaged spray arm will not work well. This can affect how well the dishwasher cleans.
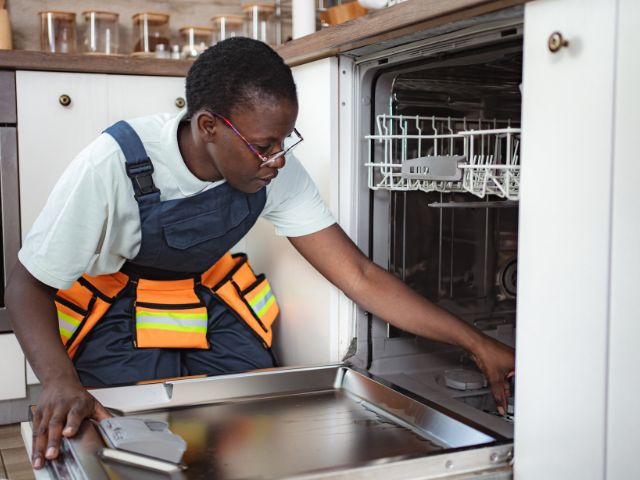
Step 2: Removing the Broken Spray Arm
Once you know the spray arm needs to be changed, it’s time to take off the broken one. In most dishwashers, the lower spray arm is attached with a twist-and-lock system. Find the center of the spray arm and turn it counterclockwise to release it.
If there is an upper spray arm, it might be held with a clip, nut, or screw. Check where the spray arm connects and use the right tool, like pliers or a screwdriver, to loosen and take off the part holding it.
Carefully pull the spray arm up to remove it from the dishwasher. Be careful of any water still inside the spray arm and tip it slowly to avoid spills.
Step 3: Installing the New Spray Arm
With the old spray arm taken out, you can now put the new one in. First, line up the new spray arm with the spot in the dishwasher. Make sure it fits snugly and is secure.
If the spray arm has a twist-and-lock feature, turn it to the right until you hear a click. If it uses a clip, nut, or screw, carefully attach and tighten it. Make sure the spray arm is tight but can spin freely without any blocks.
If you own a Viking dishwasher, the steps should be quite the same. But remember to check your Viking appliance user manual for specific instructions for your model. This will help you install the new spray arm right, keeping your Viking dishwasher working well for a long time.
Step 4: Testing the Dishwasher Post-Repair
After putting in the new spray arm, it is important to test the dishwasher. Start by reconnecting the water supply line. Make sure all the links are tight and secure. Then, turn the water supply valve back on and check for any leaks at the connection points.
Next, turn the power back on for the dishwasher. You can do this by switching the circuit breaker back. When the power is on, run a short wash cycle with the dishwasher empty. This helps you see the new spray arm working.
Watch how the spray arm moves and listen for any strange sounds. If the dishwasher runs well and the spray arm spins properly, you have finished the repair successfully.
Contact Viking Appliance Repair Pros for Expert Service
If you have a Viking dishwasher and are having problems with the spray arm or any other issues, it’s important to get professional help. At Viking Appliance Repair Pros, we are experts in fixing luxury appliances. We make sure your Viking products get the right care they need. Our team is made up of skilled technicians who know how to work with Viking appliances. They can find and fix any problem quickly and well. We only use real Viking parts to help your valuable appliances work their best and last longer. Contact Viking Appliance Repair Pros today for trustworthy and professional service for your Viking dishwasher.
Conclusion
In conclusion, keeping your dishwasher’s spray arm in good shape is important for it to work well. Learning how to fix a broken dishwasher spray arm can save you time and money. By following the steps outlined above, you can successfully replace the spray arm and ensure your dishwasher functions properly. Remember to test the dishwasher after repair to confirm that everything is working as it should. If you encounter any issues or need expert assistance with your Viking dishwasher, do not hesitate to contact Viking Appliance Repair Pros for reliable service from experienced technicians using authentic Viking parts.
If you want more insights for your appliance, check out our blog about Eco-Friendly Dishwashing: Tips for Saving Water and Energy for useful resources. Your dishwasher is a big part of your daily routine, so it’s important to make sure all its parts work properly for a smooth kitchen experience.
Frequently Asked Questions
How often should I clean my dishwasher’s spray arm?
To keep your dishwasher working well, you should clean the dishwasher spray arm every 1 to 3 months. Cleaning it often stops food parts and minerals from building up. This way, water can flow better when you use the machine.
What are the signs of a malfunctioning spray arm?
A spray arm that is not working well shows some clear signs. First, dishes may not get clean. You might hear strange noises while it is running. Also, look for any damage, such as cracks or blockages in the spray arm itself.
Is it more cost-effective to repair or replace a dishwasher?
The best choice between repairing or replacing a dishwasher depends on its age, how badly it is damaged, and the repair costs. Usually, if the repair costs are more than 50% of what a new appliance costs, it makes more sense to replace the dishwasher.