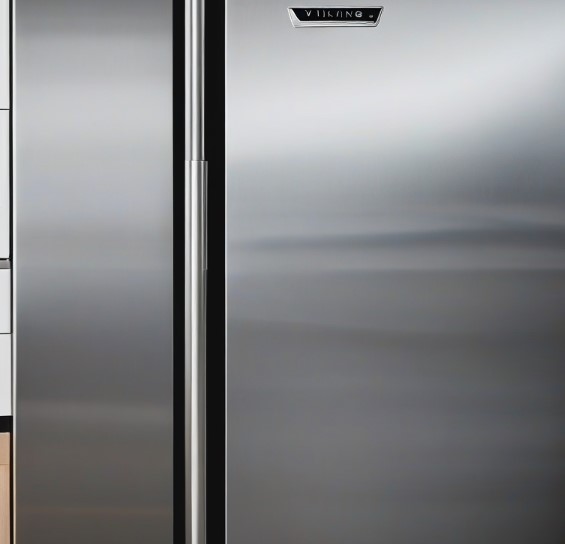
A loose freezer door handle can change from a small issue to a more serious one if you do not fix it. The door handle is an important part of your Viking freezer, or fridge, as it needs to be tightly attached to keep your food stored safely. In this guide, we will walk you through the steps to tighten the Viking freezer door handle that is loose. This simple DIY fix can save you time and money, ensuring that your freezer continues to function properly. Let’s dive in and get your freezer handle secure once again.
Common Reasons Why Handles Become Loose
Over time, it is common for freezer door handles to get loose. Pulling and pushing the door, along with vibrations from the freezer, can make the screws that hold the handle become loose. Also, changes in temperature and humidity can make the door and handle materials expand and contract slightly. This can also help loosen the screws.
Another reason for loose freezer door handles is if they were not installed correctly. If the screws were not tightly fixed during the first setup or during a past repair, they might loosen faster as time goes on.
Preparing to Fix Your Loose Freezer Door Handle
Before you start the repair, there are some things you need to do to get ready. First, gather the tools you will need. It is also important to take safety precautions. Good preparation helps to make the repair of your appliance easy and safe.
Tools and Materials You Will Need
To fix your loose freezer door handle, you need a few simple tools:
- Screwdriver: The kind of screwdriver depends on the screws on your freezer door handle. Most handles need either a Phillips head or a flat-head screwdriver.
- Replacement Screws (optional): If your screws are worn out or broken, get new screws that match the size and type you have. It’s smart to keep some extra ones.
- Work Gloves: These are not required, but wearing gloves can keep your hands safe from sharp edges or getting pinched while you fix it.
Safety Precautions Before Starting
Before you start fixing your freezer, you need to think about safety first:
- Unplug the Freezer: This is the most important step. Disconnect it from the power outlet to avoid electric shock.
- Keep Children Away: Make sure young kids stay away while you work with tools and appliance parts. Their safety is important.
- Work in a Well-Lit Area: Good lighting helps you see well and avoid accidents during repairs. Make sure your workspace has enough light.
Step-by-Step Guide to Tightening Your Freezer Door Handle
Now that you have your tools and have made sure to stay safe, you can tighten your freezer door handle. Just follow these easy steps to fix your appliance.
Step 1: Identify the Type of Screw
The first step is to identify the screw type holding the door handle in place. Here’s a simple guide:
|
Screw Head Type |
Description |
Screwdriver Type |
|
Phillips Head (+) |
Cross-shaped indentation |
Phillips |
|
Slotted Head (-) |
Single slot across the head |
Flat-Head |
Carefully examine the screw heads on your freezer door handle and select the corresponding screwdriver.
Step 2: Tighten the Screws Properly
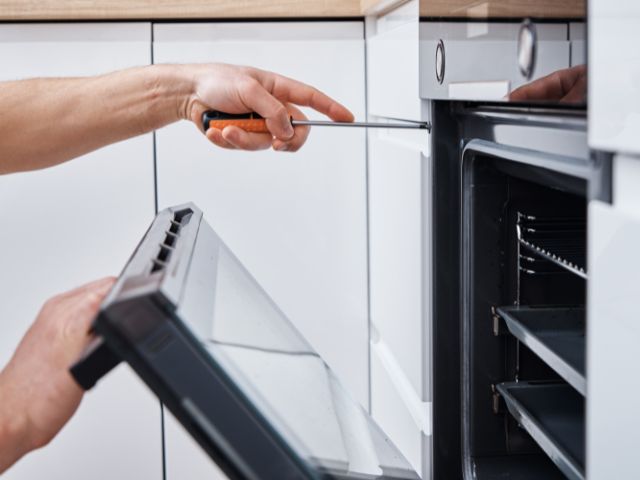
Once you know the right type of screwdriver, hold the freezer door handle tightly. Then, put the screwdriver into the screw head. Start turning the screwdriver to the right to make the screw tighter.
Make sure you push down firmly and evenly. This will help the screw go in straight. Don’t tighten it too much because it can break the screw or damage the freezer appliance.
Step 3: Test the Handle’s Stability
After you tighten all the screws, give the freezer door handle a light pull. This will help you check if it is firmly in place. There shouldn’t be any shaking or movement.
If the handle feels loose or the screws turn easily, the screws may be worn out or the holes could be damaged. In this case, you might have to change the screws or get help from a professional for the appliance.
Preventing Future Issues with Your Freezer Door Handle
Taking some easy steps can help stop a loose freezer door handle from happening again. If you follow these tips, you can avoid future problems and keep your freezer working well.
Regular Maintenance Tips
- Check Handle Tightness Often: It is good to look at the tightness of your freezer door handle every few months. If it feels loose, fix it right away.
- Clean the Door Gasket: The door gasket keeps the cold air inside the freezer. Clean it regularly with warm, soapy water to get rid of dirt, dust, or ice. A clean gasket helps the door seal well and reduces pressure on the door handle.
- Don’t Hang Heavy Items: Avoid placing heavy bags or items on the freezer door handle. This puts extra stress on the screws, which can make them loosen.
When to Seek Professional Help
Tightening a loose freezer door handle is something you can often do yourself. However, certain situations call for professional help with appliance repair. Here are some reasons to consider getting a technician like us here at Viking Appliance Repair Pros:
- Handle Keeps Loosening: If the door handle stays loose even after you tighten it, there might be a bigger problem with the door, hinge, or mount.
- Broken Screws or Parts: If screws are stripped, holes are damaged, or you see other broken parts, it’s better to get a qualified appliance technician to fix it.
- Other Freezer Issues: If your freezer has other problems, like not cooling right, making odd sounds, or leaking water, it’s a good idea to get expert help to find and fix the issues.
Conclusion
In conclusion, taking care of your Viking freezer door handle that is loose is very important. It helps the handle last longer and makes your life easier. You can easily tighten your loose freezer door handle by following the simple steps in this guide. Don’t forget to check it regularly to make sure everything is secure. If you have ongoing issues or need more help, feel free to get professional assistance. For more useful tips and solutions, you can also check out our other informative blogs on Say Goodbye to These Common Freezer Issues!
Frequently Asked Questions
1. What do I do if the screws keep loosening?
If the screws continue to loosen after tightening, consider using a larger screw or apply a thread-locking solution to prevent vibration issues. If the problem persists, seek help from professional appliance repair experts.
2. Can I replace the door handle myself?
Yes, replacing a freezer door handle is often simple. Ensure you purchase the correct handle for your model—refer to the appliance manual or consult a technician.
3. How often should I check my freezer door handle?
Check your freezer door handle every 3–6 months. If you notice looseness or trouble opening/closing, schedule a Viking freezer repair service.
Related Services & Helpful Links
Repair Services by Location & Appliance:
Seasonal & Maintenance Tips:
Service Areas:


