Owning a Viking oven means enjoying professional-grade cooking performance in your own kitchen. But like any high-end appliance, even a Viking oven isn’t immune to technical issues. One of the most common problems homeowners face is a malfunctioning oven temperature sensor. A faulty sensor can cause uneven cooking, inaccurate temperatures, or prevent the oven from heating at all. Fortunately, with the right guidance, you can identify and resolve this issue efficiently.
Whether you’re a cooking enthusiast or someone who relies on your oven daily, understanding the ins and outs of your Viking oven temperature sensor can save you time, money, and frustration. For comprehensive support, turn to Viking Appliance Repair Pros for professional assistance.
Understanding the Viking Oven Temperature Sensor
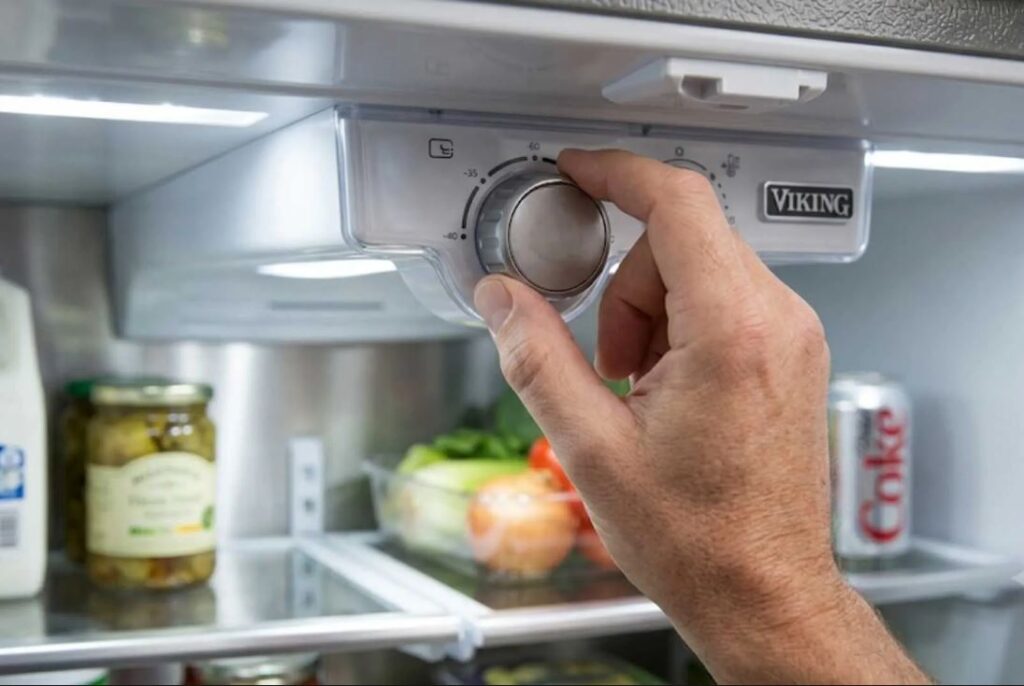
The oven temperature sensor is a critical component that monitors the internal temperature of your oven. Its primary function is to relay real-time temperature readings to the control board, ensuring your food cooks precisely as intended. When this sensor malfunctions, your oven may:
- Fail to reach the desired temperature
- Display error codes
- Heat unevenly
- Turn off unexpectedly during cooking cycles
The sensor is typically located inside the oven cavity, protruding from the back wall. Its slender, metallic design might seem simple, but it plays a crucial role in your oven’s performance. Ignoring sensor issues can lead to poorly cooked meals and strain other components of your oven.
Common Causes of Oven Temperature Sensor Failures
Knowing why sensors fail helps you prevent future problems. Some of the most frequent causes include:
- Wear and Tear: Over time, repeated heating cycles weaken the sensor’s internal wiring.
- Electrical Surges: Power fluctuations can damage sensitive electronics.
- Moisture Exposure: Steam and spills from cooking can corrode the sensor’s connections.
- Improper Cleaning: Harsh cleaning agents or scraping tools can physically damage the sensor.
Regular maintenance and mindful usage significantly extend the life of your oven sensor.
Signs Your Viking Oven Sensor Needs Attention
Recognizing the early warning signs of a failing temperature sensor can save you from expensive repairs or a ruined meal:
- Oven temperature feels inconsistent or significantly off from the set value
- Food cooks too quickly or too slowly
- The oven won’t heat at all or shuts off mid-cycle
- The control board displays error codes related to temperature
If you notice any of these signs, it’s time to investigate the sensor before the issue escalates.
Step-by-Step Process to Diagnose a Faulty Sensor
Before replacing the sensor, you can perform a few simple diagnostic steps:
- Check for Visible Damage: Open the oven and inspect the sensor for signs of burn marks, corrosion, or broken wires.
- Test With a Multimeter: Set your multimeter to the ohms setting. At room temperature, a functional sensor should read approximately 1,080 ohms. Any significant deviation may indicate a malfunction.
- Observe Oven Behavior: Run your oven at a low temperature (like 200°F) and monitor whether it reaches and maintains the set temperature.
- Consult Error Codes: If your Viking oven displays an error code related to temperature, check the user manual to verify whether it points to the sensor.
Following these diagnostic steps ensures you’re addressing the right issue and not misidentifying a different oven problem.
Replacing a Viking Oven Temperature Sensor
When a sensor is confirmed to be faulty, replacement is often straightforward. Here’s how to approach it:
- Power Off Your Oven: Always unplug the appliance or turn off the circuit breaker to prevent electric shock.
- Remove the Old Sensor: Typically, the sensor is secured with two screws at the back wall of the oven. Carefully disconnect the wires attached to it.
- Install the New Sensor: Connect the wires to the replacement sensor and secure it with screws. Ensure the sensor does not touch the oven walls, which could result in inaccurate readings.
- Test the Oven: Power on the oven and preheat it to verify the new sensor works correctly. Monitor the temperature for accuracy during a cooking cycle.
Using high-quality replacement parts specifically designed for Viking ovens is essential for optimal performance and durability.
Preventative Maintenance Tips to Extend Sensor Life
Preventing future sensor failures is just as important as fixing existing ones. Here are a few proactive steps:
- Clean Gently: Use soft cloths and mild, non-abrasive cleaners to avoid damaging the sensor.
- Monitor Electrical Health: Surge protectors help safeguard sensitive oven electronics.
- Avoid Excess Moisture: Limit steam exposure from boiling or spilling liquids inside the oven.
- Regular Inspections: Periodically check the sensor for signs of wear or damage.
Consistent maintenance ensures your Viking oven continues delivering precision cooking for years to come.
When to Call Professional Help
Even with step-by-step instructions, some sensor issues require professional attention. Situations that warrant calling experts include:
- Persistent error codes that don’t resolve after sensor replacement
- Repeated temperature inconsistencies despite following troubleshooting steps
- Complex wiring issues or other electrical concerns
Professional technicians have specialized tools and experience to ensure the repair is safe, efficient, and lasting. For homeowners looking for reliable support, Viking Appliance Repair Pros provides expert solutions tailored to your appliance.
How to Choose Quality Replacement Sensors
Selecting the right sensor is crucial. Consider these tips when sourcing replacement parts:
- OEM Parts: Original Equipment Manufacturer sensors guarantee compatibility and reliability.
- Check Specifications: Ensure the sensor’s resistance ratings match your Viking oven model.
- Avoid Generic Parts: Low-quality sensors may fail prematurely or provide inaccurate readings.
- Authorized Sellers: Purchase from trusted distributors or certified repair services.
Quality sensors reduce the risk of recurring problems and preserve the longevity of your appliance.
Tips for Avoiding Common Repair Mistakes
Many homeowners make simple mistakes when repairing their oven sensors:
- Skipping Diagnostics: Replacing the sensor without testing can lead to unnecessary costs.
- Ignoring Safety Precautions: Working on a live oven can result in serious injury.
- Incorrect Installation: Loose wires or misaligned sensors cause ongoing malfunctions.
- Using Wrong Parts: Non-compatible sensors affect oven accuracy and performance.
Following proper procedures and guidelines ensures repairs are successful the first time.
Additional Resources for Viking Oven Owners
For those who want to learn more about Viking appliance repairs, reading related expert blogs can provide valuable insights. For example, check out Viking Repair Near Me: What to Check Before You Pay to understand common pitfalls and tips before hiring a repair service. These resources help you make informed decisions and avoid unnecessary expenses.
Benefits of Timely Oven Sensor Repairs
Repairing or replacing a faulty sensor promptly offers several advantages:
- Consistent Cooking Results: Ensures your meals are cooked perfectly every time.
- Energy Efficiency: Prevents over- or under-heating, saving energy and lowering utility bills.
- Extended Appliance Lifespan: Reduces strain on other components and prevents further damage.
- Peace of Mind: Knowing your oven is operating correctly eliminates stress during busy cooking days.
A properly functioning sensor maintains your Viking oven’s performance at its peak.
Conclusion: Keep Your Viking Oven at Peak Performance
A Viking oven is an investment in your culinary experience, and maintaining it properly is essential. The temperature sensor may seem like a small component, but it plays a vital role in ensuring accurate, reliable, and safe cooking. From diagnosing early warning signs to replacing sensors correctly and performing preventative maintenance, the right approach protects your appliance and your meals.
Whether tackling a minor sensor issue yourself or calling in professional expertise, taking action promptly avoids bigger problems down the line. Rely on trusted experts like Viking Appliance Repair Pros for reliable guidance, high-quality replacement parts, and peace of mind.
With careful attention, your Viking oven will continue to deliver consistent, professional-grade cooking results for years to come. Don’t let a faulty sensor slow you down—address the issue today and keep your kitchen performing at its best.